• Optics and Precision Engineering
  • Vol. 31, Issue 23, 3457 (2023)
Siying LING1, Ming LING2,*, Hu LIN3, Fengtao WANG1, and Liding WANG2
Author Affiliations
  • 1Key Laboratory of Intelligent Manufacturing Technology of Ministry of Education, Shantou University, Shantou55063, China
  • 2Key Laboratory for Micro/Nano Technology and System of Liaoning Province, Dalian University of Technology, Dalian11603, China
  • 3National Institute of Metrology, Beijing100029, China
  • show less
    DOI: 10.37188/OPE.20233123.3457 Cite this Article
    Siying LING, Ming LING, Hu LIN, Fengtao WANG, Liding WANG. Research progress in high-precision gear involute artifacts and measuring instruments[J]. Optics and Precision Engineering, 2023, 31(23): 3457 Copy Citation Text show less
    Gear involute artifact with single base circle from DLUT
    Fig. 1. Gear involute artifact with single base circle from DLUT
    Gear involute artifacts with single base circle from NGML and PTB[18-19]
    Fig. 2. Gear involute artifacts with single base circle from NGML and PTB18-19
    Involute corrugation artifact from PTB[20]
    Fig. 3. Involute corrugation artifact from PTB20
    Gear involute artifact with rollers from NMIJ[22]
    Fig. 4. Gear involute artifact with rollers from NMIJ22
    Gear involute artifact with double design base circles from BelGIM[25]
    Fig. 5. Gear involute artifact with double design base circles from BelGIM25
    Micro-gear involute artifact with multi-modular internal teeth from PTB[27]
    Fig. 6. Micro-gear involute artifact with multi-modular internal teeth from PTB27
    Gear involute artifact with three design base circles from DLUT[30]
    Fig. 7. Gear involute artifact with three design base circles from DLUT30
    Workpiece gear artifact[31]
    Fig. 8. Workpiece gear artifact31
    Class-1 master gear from DLUT
    Fig. 9. Class-1 master gear from DLUT
    Large involute gear segment measurement standard from PTB[34]
    Fig. 10. Large involute gear segment measurement standard from PTB34
    Large ring gear measurement standard from PTB[36]
    Fig. 11. Large ring gear measurement standard from PTB36
    Double ball artifact from NMIJ[39-40]
    Fig. 12. Double ball artifact from NMIJ39-40
    Double-axis arc-shaped large-size involute artifact from BJUT[45]
    Fig. 13. Double-axis arc-shaped large-size involute artifact from BJUT45
    Micro gear artifacts[46]
    Fig. 14. Micro gear artifacts46
    Involute measurement based on rolling generation
    Fig. 15. Involute measurement based on rolling generation
    Gear measuring center(GMC) and its measuring principles[37]
    Fig. 16. Gear measuring center(GMC) and its measuring principles37
    CMM form PTB(5 m×4 m×2 m)[35]
    Fig. 17. CMM form PTB(5 m×4 m×2 m)35
    Large standard gear with multi-parameters
    Fig. 18. Large standard gear with multi-parameters
    Large gear involute artifact assembled with mandrel
    Fig. 19. Large gear involute artifact assembled with mandrel
    Comparison of evaluation ranges of gear involute artifacts with those of standard gears
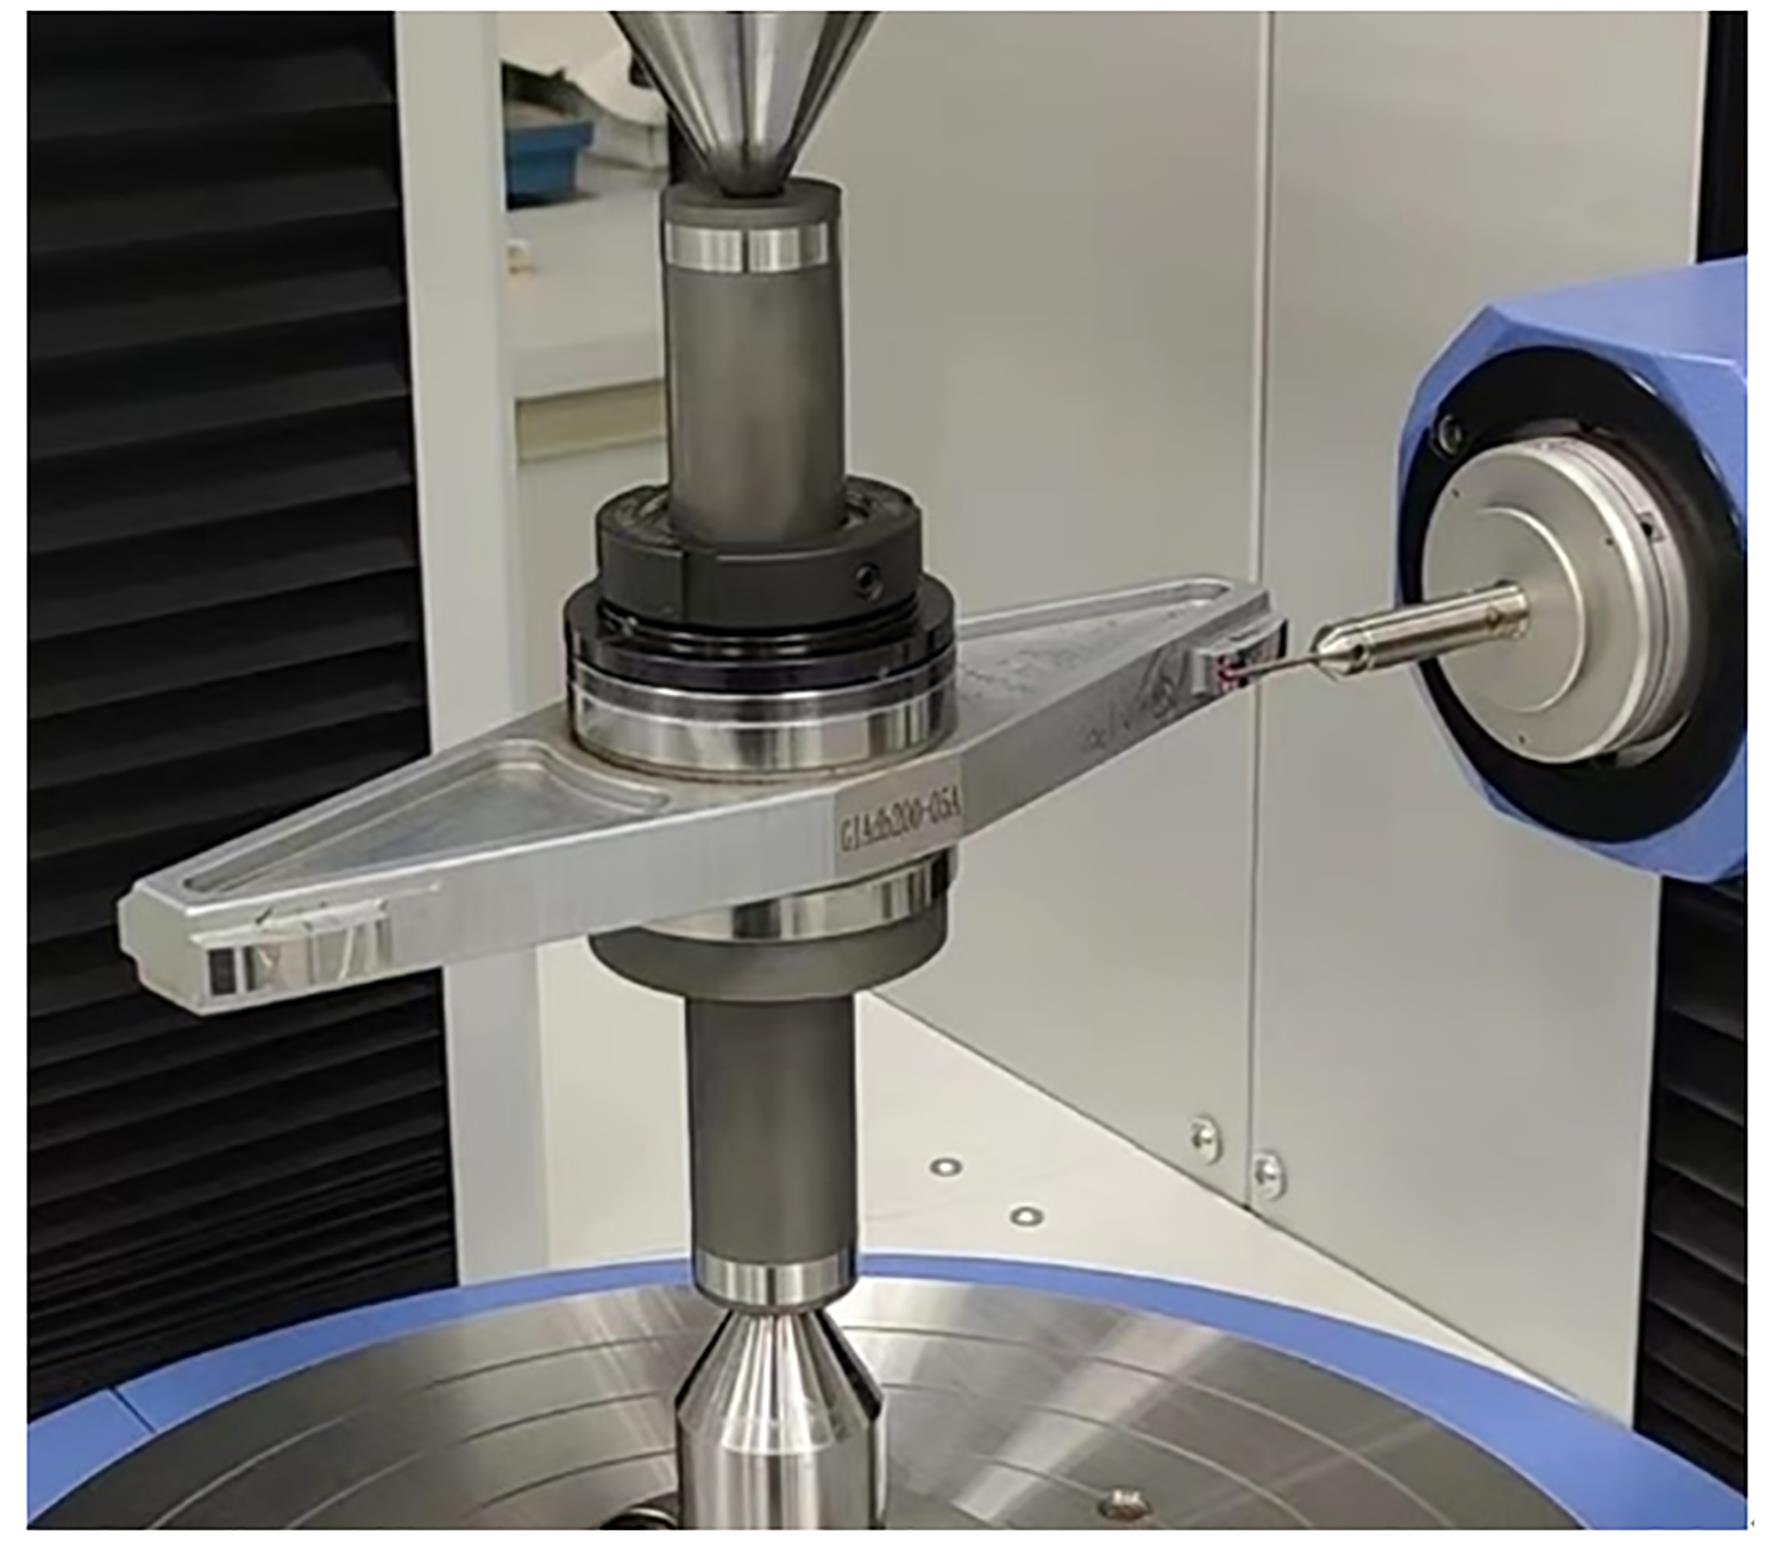
    Fig. 20. Comparison of evaluation ranges of gear involute artifacts with those of standard gears
    Siying LING, Ming LING, Hu LIN, Fengtao WANG, Liding WANG. Research progress in high-precision gear involute artifacts and measuring instruments[J]. Optics and Precision Engineering, 2023, 31(23): 3457
    Download Citation